About Me

My photo
My blog is about how to be better organized with your meal planning, you can be one person or a family of 4 or more, planning is the key to knowing what you are going to eat every day and let’s face it, we all have to eat to live! So why not plan it out? It saves time and money! What comes along with meal planning? Ideas for meals! As time goes by I will add recipes I have made for my family that were liked, and anything you see here, was well-received.
Showing posts with label Christmas. Show all posts

Saturday, December 3, 2011

Chocolate Snowball Cookies (Easy)

Grab a glass of milk or water!  You are going to need it after just one bite from this cookie!  So good!  So good!  Thank you gmail ads for taking notice and reading my email evite that I had a cookie exchange to go to and that you had suggestions for cookie recipes for me, otherwise I would not have found these yummy cookies to make!  LOL!  This is my first time making these cookies and this will certainly not be my last!  No way!  Love em!  I must say though, this recipe says they make 60 cookies; there is no way that is possible, maybe if you double the recipe but not as posted on Hershey's website.  My recipe only made 34 cookies.  I did not use just plain milk chocolate Hershey kisses either, I used 3 different kinds and for another suggestion, use Rolo's or mini Reese's peanut butter cups, sliced in half instead because a whole one would be too large.

http://www.hersheys.com/recipes/cookies/featured-recipes/chocolate-snowball.aspx

Ingredients:

  • 1 pouch Betty Crocker Sugar Cookie mix: 17.5 oz bag
  • 1/4 cup all-purpose flour
  • 1/2 cup finely chopped almonds (I had sliced almonds and I pulverized them in my food processor, if you don't have one, use your blender, works just as well and that is 1/2 of a cup after you pulverize them, not before)
  • 1/2 cup butter, melted
  • 1/4 cocoa powder
  • 1 egg
  • 1 tsp. almond extract
  • 30-40 unwrapped Hershey Kisses, or Rolo's, or 15-20 mini Reese's cups, sliced in half, and extra if you want to snack :)
  • 2 cups powdered sugar, for rolling the cookies in once baked

Directions:

  1. Heat oven to 375 degrees F.  In a large bowl, stir the sugar cookie mix, flour, cocoa, pulverized almonds, melted butter, egg, and almond extract until soft dough forms. 
  2. Shape dough into  3/4-inch balls; wrap each around a milk chocolate candy.  Place 2 inches apart on ungreased cookie sheet.
  3. Bake 10 minutes or until set.  Immediately remove from cookie sheet.  Cool slightly, about 5 minutes.
  4. Roll cookies in powdered sugar.  Cool completely, about 15 minutes.   Re-roll cookies in powdered sugar.  Store tightly covered. About 2.5 dozen cookies.

The sugar cookie mix I used.
The 1/2 cup of pulverized almonds, you really need them finely chopped because they have to mix into the dough and be able to be formed around a Hershey Kiss and if they are large they will stick out like a splinter.
The dough waiting to be wrapped around Kisses.
The variety of Kisses I used.
Hershey Kisses.......
Before baking and the dough really is so easy to wrap around a Kiss.
10 minutes of baking and they really don't flatten out too much.
Cooling on the wire rack.
The first coating of powdered sugar.
All have been coated once with powdered sugar, you can see why they need to be re-rolled. When they have completely cooled is when you roll them in the powdered sugar the second time.
Ready to go for the cookie exchange!

Wednesday, November 30, 2011

Peppermint Bark (Easy)

I don't know what to say.  This is such an easy candy recipe for the Christmas season.  My family loves this peppermint bark, you can't eat just one piece.  It is like eating popcorn in front of a movie, by the time you look down at the bowl in front of you it will be almost finished!  My son has told me kids would pay money at his high school for me to make it for them, an entire batch for just one friend.  I have yet to take him up on it; maybe I will one of these days.  He tells me he just wants the white chocolate part to sell.  He likes the chocolate part as well but I once made it for him to take to school with only white chocolate and the crushed peppermint and that is when his friends told him they would pay him for an entire batch for themselves. 

Ingredients:
  • 2 bags - 12 oz semi-sweet chocolate chips
  • 2 bags - 12 oz white chocolate chips
  • 4 tsp. peppermint extract, divided
  • 1 - 10 oz bag crushed peppermint(sold at HEB next to the chocolate chips), or 1 box of 12 candy canes, peeled from their wrappers, crushed in a food processor, or by beating them with a rolling pin contained in a Ziploc (that way can be pretty harsh to your counter top, so beware)

Directions:

  1. Line a 11 x 14 inch cookie sheet with aluminum foil. This makes it easier for lifting out and breaking into pieces.
  2. Melt 2 bags of the semi-sweet chocolate chips in a glass bowl in the microwave on high for 1 minute 30 seconds (remember all microwave times vary so you may want to start out with 1 minute).  Do not go any longer than a minute thirty, you will burn your chocolate.  Don't worry if you have some lumps, if you stir it enough the continued heat in the chocolate will continue to finish off the melting process of those lumps, this is also the part where you add the 2 tsp. of peppermint extract.
  3. As soon as your chocolate is smooth, spread it evenly immediately over the foil on the cookie sheet and place in the freezer for 5 minutes to harden. While it is hardening, wash your glass bowl because you will need it again for the white chocolate and it helps to pass the time for those 5 minutes.
  4. Once the 5 minutes is passed for the hardening of the chocolate, pour the 2 bags of white chocolate chips in the glass mixing bowl and also microwave for 1 minute 30 seconds, no longer. If you have any small lumps, continue to stir and the heat will continue to melt them. Add the other 2 tsp. of peppermint extract and stir, immediately add the crushed peppermint and stir. 
  5. Spread the white chocolate/crushed peppermint candy mixture over the chocolate layer and be careful from the warmth of the white chocolate not to melt the dark chocolate layer and create the mess of making your white chocolate dirty with the dark chocolate. 
  6. Place in freezer for 5 minutes to harden again, then remove.
  7. Lift the entire block of candy by the edges of the foil and place onto a cutting board and cut with a metal spatula or a knife. It will not be easy. You can also try and break into pieces by hand but it will start to melt the chocolate from the heat of your fingers.
  8. Store at room temperature in an airtight container in a cool place.

MERRY CHRISTMAS!!!!

All the ingredients you need to make this yummy Christmas time candy treat!
Line the 11 x 14 cookie sheet with aluminum foil. Very important!
2 bags of semi-sweet chocolate completely melted with peppermint extract.
2 bags of melted chocolate spread evenly on top of the foil-lined cookie sheet.
White chocolate chips with peppermint extract and crushed peppermints.
Again spread evenly and quickly so that you do not disturb the chocolate layer beneath and then place in freezer.
One big block of candy! It lifts out quite nicely and in one piece with the foil beneath.
I removed the foil and placed on a cutting board and I highly recommend that or else if you try and cut it up with the foil still attached you will get bits and pieces of foil stuck to your candy. Do this breaking/cutting up process quickly and if you must use your hands, which you will sometimes, move quickly so you don't start melting the chocolate from your own body heat from your fingers.
The metal spatula I used and glass cutting board. Your spatula needs to be strong and sharp.
A beautiful piece up close!

Monday, November 14, 2011

Funky Turkey (Intermediate)

The second most yummiest Thanksgiving turkey I have ever had in my life!  What is my first yummiest?  The first is a fried turkey.  I know this one looks burnt, it is not, more like blackened and oh so moist and juicy.  It is an Emeril Lagasse recipe back from 1994.  It was almost one year after I was newly married, our second Thanksgiving as a newly married couple, and my husband was watching Good Morning America while eating breakfast before going to work.  He called me into the living room and said "let's make this for Thanksgiving this year".  We did and we have every year since, going on 18 years now of making this recipe and we make it again at Christmas.  It is our family tradition.   I had to actually write in to GMA to get the recipe because back then we did not have a computer and recipes were not online then and it had to be mailed to me.  How times have improved and for the better!   My kids love this turkey, when they smell it cooking, all they can say is yum and take a deep breath and enjoy the aroma, that is what home and family tradition is to them when it comes to this meal, it is all they have ever known. 

http://www.wchstv.com/gmarecipes/funkeyturkey.shtml

Ingredients for Turkey (more ingredients for Emeril’s Essence below)
·  One turkey breast, about 6 1/2 pounds
·  2 jalapenos, minced, with their seeds
·  2 oranges, cut in half
·  3/4 cup fresh orange juice
·  1 cup fresh lemon juice
·  1 cup chopped yellow onions
·  1 cup light brown sugar
·  1 cup kosher salt
·  1/4 cup chopped fresh cilantro leaves
·  2 tablespoons chopped garlic
·  1 tablespoon chili powder
·  1 tablespoon cumin
·  1 teaspoon dried Mexican oregano, or regular dried oregano
·  1 tablespoon vegetable oil
·  1 tablespoon Emeril’s Original Essence (directly below)

Ingredients and directions for Emeril’s Original Essence:
·  2 1/2 tbsp. sweet paprika
·  1/2 tbsp. salt
·  2 tbsp. garlic powder
·  1 tbsp. black pepper
·  1 tbsp. onion powder
·  1 tbsp. Cayenne
·  1 tbsp. dried oregano
·  1 tbsp. dried thyme
Mix all of the ingredients together and store in an airtight container. Can be stored for up to 3 months. Note: this recipe makes about 3/4 cup

Directions for Turkey
1. Put the turkey in a large colander and rinse under cold running water. Pat dry with paper towels and set aside.

2. To make the brining liquid, combine the first set of ingredients above (everything except the vegetable oil and the Emeril’s Essence) with 1 gallon of water in a large non-reactive container or a large glass bowl(I use a gallon pitcher). Stir to dissolve the sugar and salt.

3. Place the turkey breast in the non-reactive container with the brining liquid. If you don't have a large non-reactive container, place the turkey breast into a large plastic or 2 1/2 gallon  Ziploc bag. Carefully pour the brining liquid into the plastic bag with the turkey breast. Place the plastic bag (with the turkey breast and the brining liquid) inside a large container in the refrigerator in case it should leak or drip. Refrigerate at least 12 hours, and up to 24 hours. Turn the turkey periodically to ensure that the turkey is evenly marinated.

4. Preheat the oven to 375 degrees F. Remove the turkey from the brine and put it in a large, heavy roasting pan, breast side up. Pat dry with paper towels. Rub the turkey with the vegetable oil, and sprinkle the outside and the cavity of the turkey with the Emeril’s Essence.  Instead of rubbing the turkey with oil, I mix 1/4 cup of Emeril's Essence with  3 tablespoons olive oil just enough to make it easy to “paint” the turkey breast and I cover the entire breast with this coating. I think it makes the turkey taste better this way. Roast until deep golden brown, and an internal temperature registers 165 degrees F. on an instant-read thermometer, about 1 hour and 45 minutes.

5. Remove from the oven and let stand in the roasting pan or on a serving platter for 15 minutes before carving.


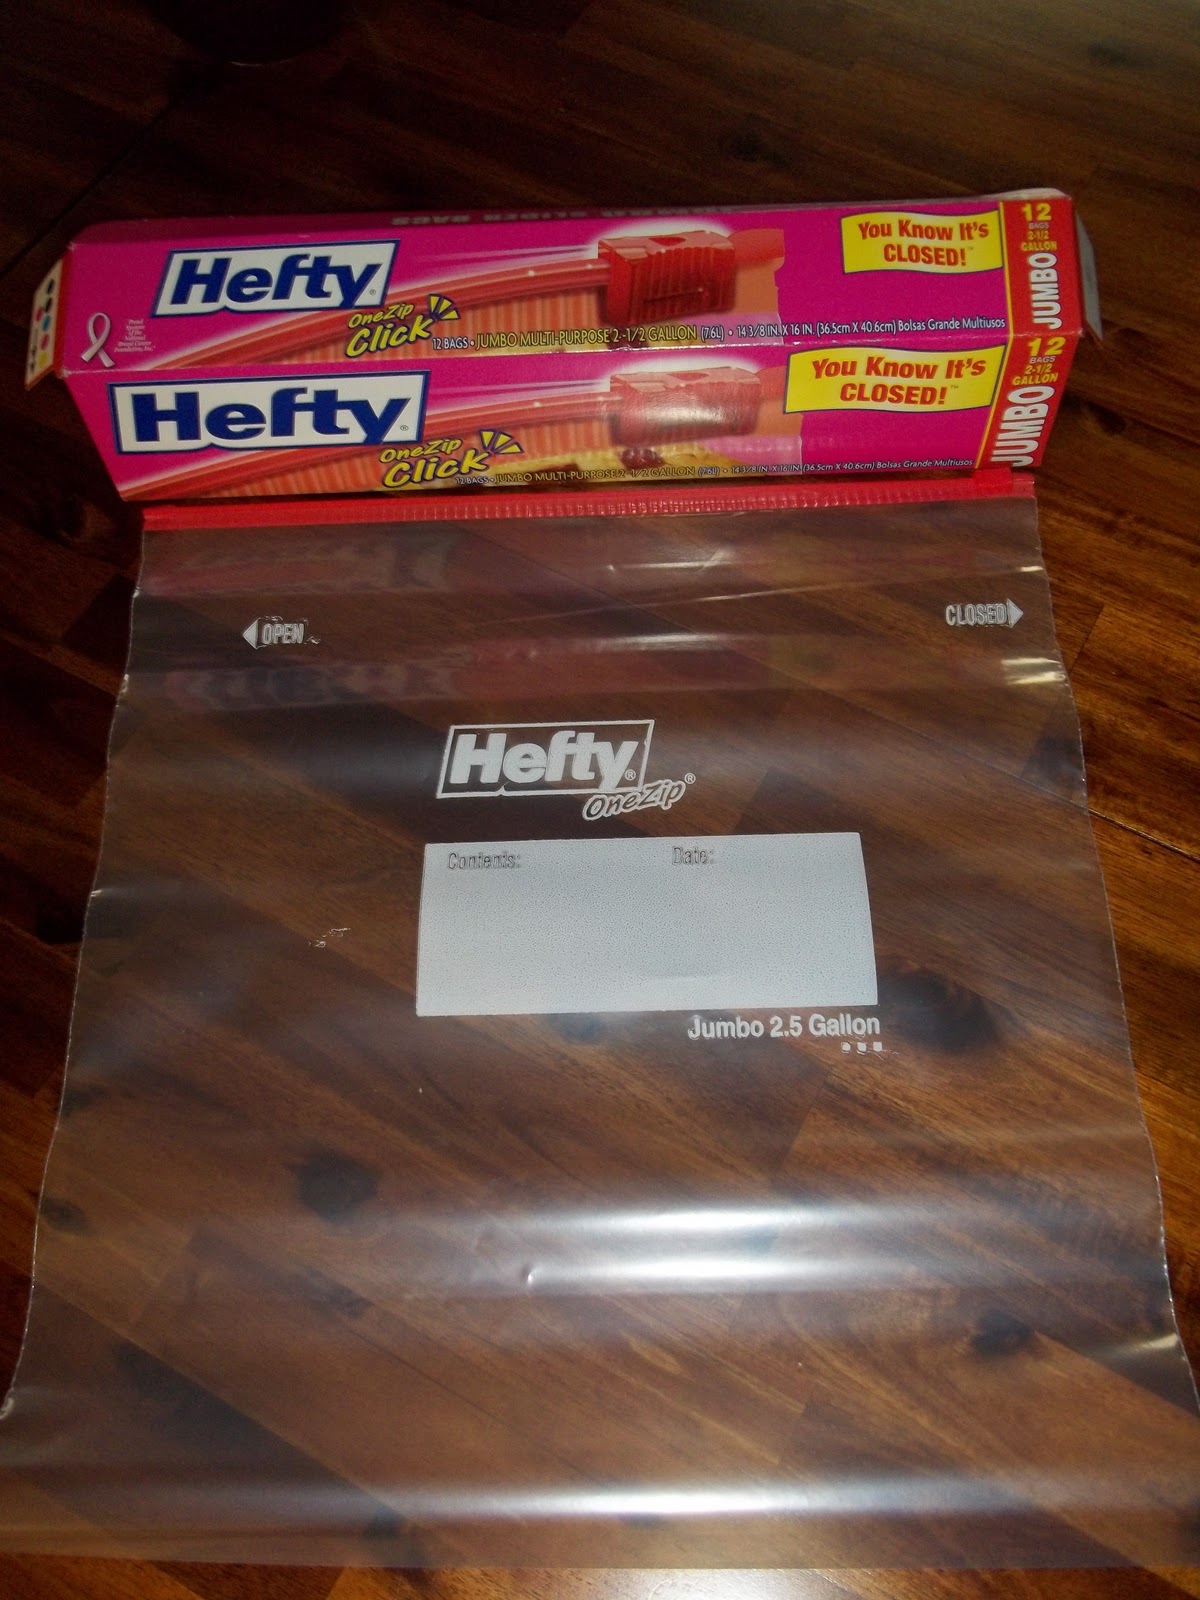
The large 2 1/2 gallon resealable bag for brining the turkey breast in.
This was a 7 lb turkey breast, I cooked this one for 2 hours instead of the 1 hour 45 minutes because it was a bit larger than the recipe called for.
Minus the olive oil, all the brining ingredients.
The one gallon pitcher I used to make the brining solution in and it makes it much easier to pour over the turkey breast.
See the ease of being able to pour it into the bag. You place your turkey breast in the bag first though.
Ready to be sealed for over night.
Look at all those yummy ingredients! I can't wait to be able to eat it!
Place your turkey breast that you sealed in the 2 1/2 gallon bag in a large bowl just in case it leaks and to keep it from rolling around the fridge.
Emeril Essence ingredients, go easy on the salt, even 1/2 tbsp is a bit much.
I used a washed out Parmesan cheese topping container for storing my Emeril's Essence it, it works quite nicely.
1/4 cup Emeril's Essence mixed with 3 tbsp olive oil. See how it is somewhat thick but also fluid enough to be painted on the bird?
When  it comes time to prepare the turkey for cooking, I open just a small corner of the Ziploc and drain out the liquid as shown here. It is much easier to reach in and pull the turkey out of the bag of sliced jalapenos, oranges, onions, cilantro, etc and then place it on a plate and pat it dry before applying the essence.
See how I am painting it on the turkey breast. Cover the turkey breast all over.
My fully painted and ready to go in the oven turkey breast.
One yummy slice of funky turkey!
Moist and juicy too! The leftovers are awesome!