

Read on if you like........
Cheesecake. Where do I start? Just know, baking and making a cheesecake is an all day job and don't expect to eat it the same day you bake it. You have to make it the day before you plan on serving it. Now getting to this recipe, this entry has been a long time coming. It has been in the back of my mind torturing me to write about it for at least 2 weeks! Oh dear! I have had 2 failed attempts and so that meant both cheesecakes were thrown in the garbage. They are right when they say "the third time's the charm!" and it so is in this instance! Oh what a waste of money, time, and energy. But have no fear! I get to teach you from my mistakes so that you won't duplicate them. I have never before in my life really run into a cheesecake catastrophe until this one. This cheesecake recipe took research and advice from two of my girlfriend's. Thanks Tina and Suzanne! You know who you are! :)
I first found this recipe when looking for something new to make for Thanksgiving this year instead of the traditional pumpkin pie. I will most probably still make that because my son loves pumpkin pie but pumpkin pie can be so plain when there is a pumpkin cheesecake to be enjoyed as well for dessert!
My mistakes: all ingredients need to be at room temperature (I kept mine out at least 3-4 hours) when getting ready to prepare the cheesecake batter and you have to be very careful at how much air you beat into your cheesecake when it comes to using your mixer. Air can make your cheesecake puff during the baking process and then sink as it cools. If you over beat your eggs that can cause cracks to develop in your cheesecake while it bakes. My cream cheese was at room temp; and the obvious reason is so that it is easy for beating. Now my eggs weren't at room temp with my first two cheesecake attempts, a no-no, and if you are not a baker you may not know that. The original recipe did not call for that so I did not do it. To be honest, my eggs are always cold because they are in the fridge. Now as for why the ingredients need to be at room temperature, I cannot tell you why, but I am guessing because the oven does not have to work as hard at baking the cheesecake once you put it in. Heavy cream is called for in this recipe. I did not let that sit out to hit room temp instead I microwaved it for a couple of seconds, no longer, you don't want it too hot, just warmed enough to take the chill off. The eggs, you need to use 5 eggs, and they are to be lightly beaten. You just need to beat the eggs ever so lightly just enough to break the yolks and combine the whites. This is true for any cheesecake recipe so be sure to remember that. Something I did not know! Also another thing I learned is that cheesecakes rely on eggs primarily for structure so however many eggs are called for in the recipe, use, do not omit. Cheesecakes with more moisture added also take longer to bake unless they call for a bit of flour or cornstarch and if so that will change the texture to be more firm and cake-like but this cheesecake does not call for either and it has a lot of moisture added to it; one can of pumpkin, 5 eggs, and 1/4 cup heavy whipping cream. It's no wonder my cheesecake also failed both times!
My first cheesecake attempt was all wrong, no room temp eggs, cold heavy cream, too much beating involved, did the water bath but it was a poor water bath at the least, baked it for the 1 hour and 30 minutes but the middle was still too jiggly. Cheesecake is deceptive; when it is fully done it does not look fully done. A cheesecake fully cooked will become solid near the edges and have about a 2-3 inch circle in the middle that will still be wobbly. Now when I made my mistake the first time, I thought it would firm up once removed from the oven and refrigerated. No, it was still slightly wet and jiggly in the center and would not hold its shape once sliced so I knew I messed up and that it needed to go in the garbage. I also did not know that when you bake a cheesecake that you are to leave it in the oven for 1 hour after the baking process with the door closed to let it cool down in that fashion and at this point it is still sitting in its water bath. I removed it as soon as the 1 hour and 30 minutes of baking was complete. A big no-no also! Once that one hour has passed for cooling, you then remove it from the oven, and then let it cool for at least 10-20 minutes on a wire rack in the spring form pan. Once cooled on the rack and out of the oven, remove the spring form from around the cheesecake before refrigerating it but leave the bottom still intact, you will remove that the next day once it has cooled over night. If you try to remove it at this point you will destroy your graham cracker crust. You will also want your cheesecake to be as cooled as possible before you refrigerate it because a warm covered cheesecake will build up condensation and make your cake soggy.
My second cheesecake attempt was over cooked! Ugh! I still did not know all that I have been writing for the second cheesecake in this blog entry so I am still going at it desperately. This time I skipped the water bath, and just so you know water baths prevent your cheesecake from drying and cracking. I still over beat all my ingredients not knowing that was a no-no and also everything was not room temperature except for the cream cheese. I tried baking it at 350 degrees for the first 10 minutes and then I lowered the temp to 325 degrees and I baked it for 2 hours and 15 minutes. I burned it! Shoot! I left it in the oven once done baking and cracked the door open with a wooden spoon handle and let it cool there and for how long, I can't recall. I was not happy with myself again and so frustrated! I needed to learn how to perfect this recipe or else! I finally did! My third cheesecake turned out awesomely! One tip, cheesecakes are to be baked at 325 degrees, no higher. A long, slow bake guarantees an evenly baked cheesecake with a uniform temperature. I did not do this but do not stick a knife or a toothpick in the center to check for doneness you could possibly start a crack.
I already spoke about the room temperature ingredients, not over beating the entire cake and now I need to speak about the water bath. When you use a 9 inch springform pan you will need a 13 inch roasting pan to use as your water bath. You want about 2 inches all around distance from the edges of the pan for the water to go. Place a dish towel neatly in the bottom of the roasting pan and this is to protect the cheesecake from being scorched from the oven coils. I chose to use a thick bathroom wash cloth because it was the perfect fit and it did not bunch up and create lumps under the cheesecake which then in turn could make your cake bake unevenly. Next you need to bring a pot of water to a rolling boil because if you use water from the tap to surround your cheesecake you make the oven work harder at heating that up and then that takes away from the baking process of the cheesecake. The water bath is to keep the cheesecake from cracking. Cheesecakes are very finicky as I have found out. Place your roasting pan complete with wash cloth or towel in bottom, first in the oven, then place your cheesecake that is wrapped on the bottom with heavy duty foil to prevent water from seeping in in the dead center. Take your pot of boiling water and very carefully pour that hot boiling water slowly until you fill up just enough but below the edges of the foil that you used to wrap the bottom of the spring form pan and you do not want to splash any water into your cheesecake either, so go very slowly. Slowly push the rack into your oven without sloshing the water around and getting it in between the foil and the spring form pan and shut that door and do not open it until 1 hour has passed when you need to put on the walnut topping.
The initial hour has passed and now it is time to carefully sprinkle the crumbled walnut topping over the top of the perfectly baking, crack-free, cheesecake. Slowly pull the rack forward out of the oven and as quickly and carefully as possible place that crumb walnut topping all over. Don't push down when you are applying the topping, you could crack the top layer. It is pretty sturdy on top after this initial hour of baking so don't worry about thinking that you will crack it from the weight of the topping because it feels that way when you are putting it on. Don't worry also if you don't cover every square inch of the cheesecake, it will melt and spread out evenly all over the top and even over the edges. Once you have put all the topping on top, slowly push the rack back into the oven and shut the door and do not open it again until 30 minutes longer has passed. When I was at the 30 minutes longer point I opened the oven door and just moved the rack slightly to see if the cheesecake was still too wobbly in the middle and for me it was so I left it in there to cook for another 20 minutes, no longer. I then did not open the door after that 1 hour and 50 minutes of baking time and just turned the oven off because I knew that if I cooked it any longer than that it would have burned. I left the oven door shut once I turned off the oven and set the timer for one hour and walked away. Once the hour had passed and it cooled off on its own inside the oven, I then removed the cheesecake from the water bath and placed it on a wire cooling rack for 10-20 minutes. Once those last 10-20 minutes passed I removed the spring form. I did not run a knife around the edges because if I had it would have ruined the crumb walnut topping by cracking it off in big pieces off the top of the cheesecake edges because it bakes over the edges and I did not and could not disturb those edges. I had already come this far in almost cheesecake perfection and was not about to ruin it by cracking the topping! I then placed the cheesecake in the refrigerator in my storage container and called it a night!
The next day I finally got to see my cheesecake creation. It was beautiful! No collapsing, no cracks, not burned, it was near perfect! The reason I say near perfect is that there is always room for improvement. I now have the confidence to make another cheesecake in the future and not dread it! I did not give up and I learned a lot. Okay, so now the recipe and pictures follow below. Sorry that this blog entry is so long, I needed to include everything to teach others.
Recipe credit: Taste of Home
Ingredients:
Crust:
2 cups graham cracker crumbs
1/4 cup sugar
6 tablespoons butter, melted
Filling:
3 packages (8 ounces each) cream cheese, softened
3/4 cup sugar
3/4 cup packed dark brown sugar
1 can (15 ounces) solid-pack pumpkin
1/4 cup heavy whipping cream
1 teaspoon ground cinnamon
1 teaspoon ground cloves
5 eggs, lightly beaten
Topping:
6 tablespoons butter, softened
1 cup packed dark brown sugar
1 cup chopped walnuts
Directions:
- Place a greased 9-in. springform pan on a double thickness of heavy-duty foil (about 18 in. square). Securely wrap foil around pan. In a small bowl, combine cracker crumbs and sugar; stir in butter. Press onto the bottom and 1 in. up the sides of prepared pan. Be sure to first lightly grease the pan with butter on the bottom of the pan and all the way up the sides. This will prevent the batter from creeping up the side and then falling.
- In a large bowl, beat cream cheese and sugars until smooth. Beat in the pumpkin, cream, cinnamon and cloves until blended. Add eggs; beat on low speed just until combined. Pour over crust. Place springform pan in a large baking pan; add 1 in. of hot water to larger pan or just enough to not go past the foil wrap on the bottom of the springform pan.
- Bake at 325° for 1 hour. For topping, in a small bowl, combine butter and brown sugar. Stir in walnuts. Carefully sprinkle over hot cheesecake.
- Bake 30-50 minutes longer or until center is just set. Turn oven off and keep closed and let cool for 1 hour, remove spring form pan from water bath and then cool on a wire rack for 10-20 minutes. Remove spring form from cheesecake carefully and then refrigerate overnight. Yield: 12 servings.
 |
| Start out making the graham cracker crust. |
 |
| I first placed the heavy duty foil around the base of the sprinform pan and be careful not to slide it around on your counter top because you could easily tear it and then water could seep in from the water bath while baking. |
 |
| 3 sticks of softened cream cheese and both sugars. Beat until creamy but remember if you over beat you can add too much air so use your best judgment. |
 |
| Pumpkin, cream, and spices added next to beaten cream cheese mixture. Again, go easy on beating here as well. |
 |
| The slightly beaten 5 eggs. Do not over beat these eggs or else you will create extra air in your cake. |
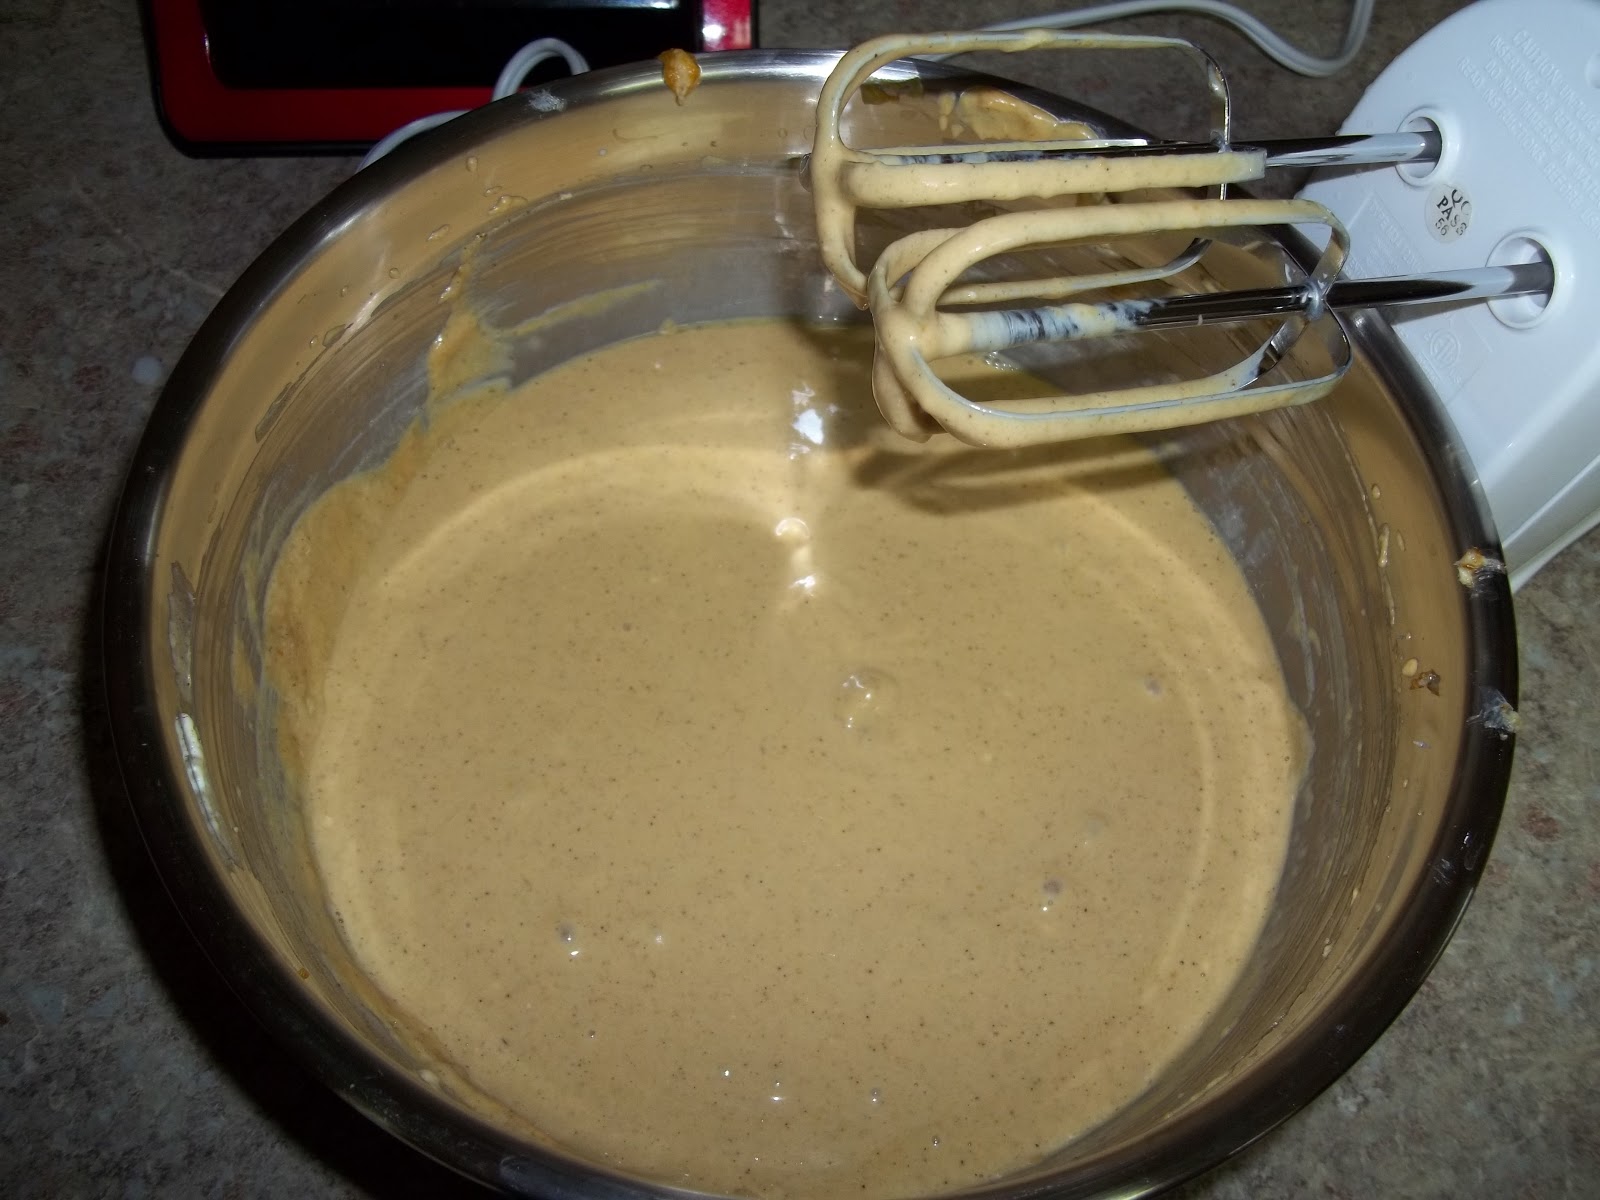 |
| I quickly and gently beat in the eggs and hoped and prayed I did not mess this part up! I just used the hand mixer on low as quickly as possible to combine the batter and the eggs together. Folding in was just not an option, does not combine it well. |
 |
| The disposable roasting pan I used. I did wash it and keep it for the future to use again. |
 |
| The wash cloth I used to protect my cheesecake from being scorched. This size wash cloth fit pretty much perfectly. |
 |
| Boiling water for water bath. A must! |
 |
| Cheesecake placed dead center in middle of roasting pan and if you notice there is no water surrounding it yet. Wait until you place the roasting pan on the oven rack to carefully pour the boiling water around it. The pan is too flimsy to carry with hot water without you accidentally getting water between the foil and the springform pan not to mention you could burn yourself through the flimsy roasting pan with such hot water. Being careful and safe is key here. |
 |
| Boiling water has been added and just right below the shortest point where the foil comes to. You do not pour the water as high as the highest point where the foil comes up to! You pour it only up to the lowest point. Remember that! |
 |
| Now that you finally got your cheesecake in the oven, make the walnut topping and just set aside on the counter top until 1 hour of baking passes for the cheesecake. |
 |
| Look at that cheesecake! It is perfect! It is only the initial hour of baking and look how gorgeous it is! No cracks and not burned! Exciting! |
 |
| Now that the cheesecake has baked for 1 hour it is time to add the walnut topping. As you can see it is not evenly covering the cheesecake but that is okay it will melt and spread itself out as it bakes longer. Do not pull the cheesecake out of the oven but pull the rack out slowly or you will spill water or possibly have it accidentally get between the foil and springform pan. Place the topping on top as quickly as possible without burning your hand and allowing for too much heat to escape. |
 |
| Look at that! 1 hour 50 minutes of baking and then 1 hour of oven cooling with the oven turned off and the door not opened at all and it is GORGEOUS!!!!!! |
 |
| Out of the water bath, did not collapse, no cracks, just perfect! Time to cool some more before I remove the springform ring from around the edges. I did not use a knife to separate the edges for fear of cracking the yummy walnut topping and as you can see it does bake over the edges. |
 |
| Look at that after I remove the springform ring! Just gorgeous! I was so pleased with myself! |
 |
| The next day after it has chilled over night in the fridge and if you notice the silver piece from the bottom of the springform pan is now removed. You do this once the cheesecake is completely chilled so that you do not crack the graham cracker crust. Take a very long knife and slowly slide it under your cake and then carefully place it on top of your storage dish, plate, pedestal, whichever. |
 |
| Look at that beautiful slice! My slice! The fruits of my labor delivered! |
Lance brought in a few slices of this cheesecake to work and I was the lucky recipient of one of them! It was fantastic, by the way. Great job. :-)
ReplyDeleteThank you Joanne! :)
ReplyDeleteThanks, Amy! I just stumbled onto your site via the address you left at TOH under this recipe, so I thought I'd visit. :) I've never had a problem with this cheesecake, but I appreciated your tip to leave it in the oven an hour longer after baking to cool...Happy Thanksgiving!
ReplyDeleteugh! part of my comment sounds so prideful to me, and I'm sorry for that...not my intention. thanks for the work and efforts you invested to make kitchen time easier for the rest of us. :)
ReplyDeleteOh no problem Nettie and I did not take it that way. Happy Thanksgiving to you too!
ReplyDeleteThese are terrific instructions Amy! I am doing this cheesecake--well a hack of it--on my site and I'm linking back to you here for your marvelous instructions. I've been doing cheesecakes for years and the most important part is leaving it in the oven to cool off.
ReplyDeleteThank you so much, Judith Hannermann! Happy baking!
DeleteThis comment has been removed by the author.
ReplyDelete